If I ask you to name a platform that you can label as your ‘own’ for bringing businesses together, your answer will be…….of course, LinkedIn!
Because LinkedIn offers many tools and options for business networking and lead generation.
Amongst these tools, the most popular ones are – connection request and InMails.
But which one is best for generating new leads? Which one is better to make more sales on the platform?
Though both connection requests and sending InMails help you make new connections and grow your network on LinkedIn, there are some noteworthy differences.
Let’s see what they are!
Differences between Connection Request and InMails
| Features | Connection Request | InMails |
| Price | Free | Premium membership ranging from $29.99 – 119.95 per month |
| Reach | Only reach people in your network | You can send FREE InMails to open profiles on LinkedIn |
| Limit | 100 per week for some accounts, can exchange messages after acceptance | 15-60 credits per month based on your subscription |
| Other features | More people show up in your 2nd degree network after acceptance of a connection request+ Can send Event Invites to your 1st degree connections | These features aren’t available with InMails |
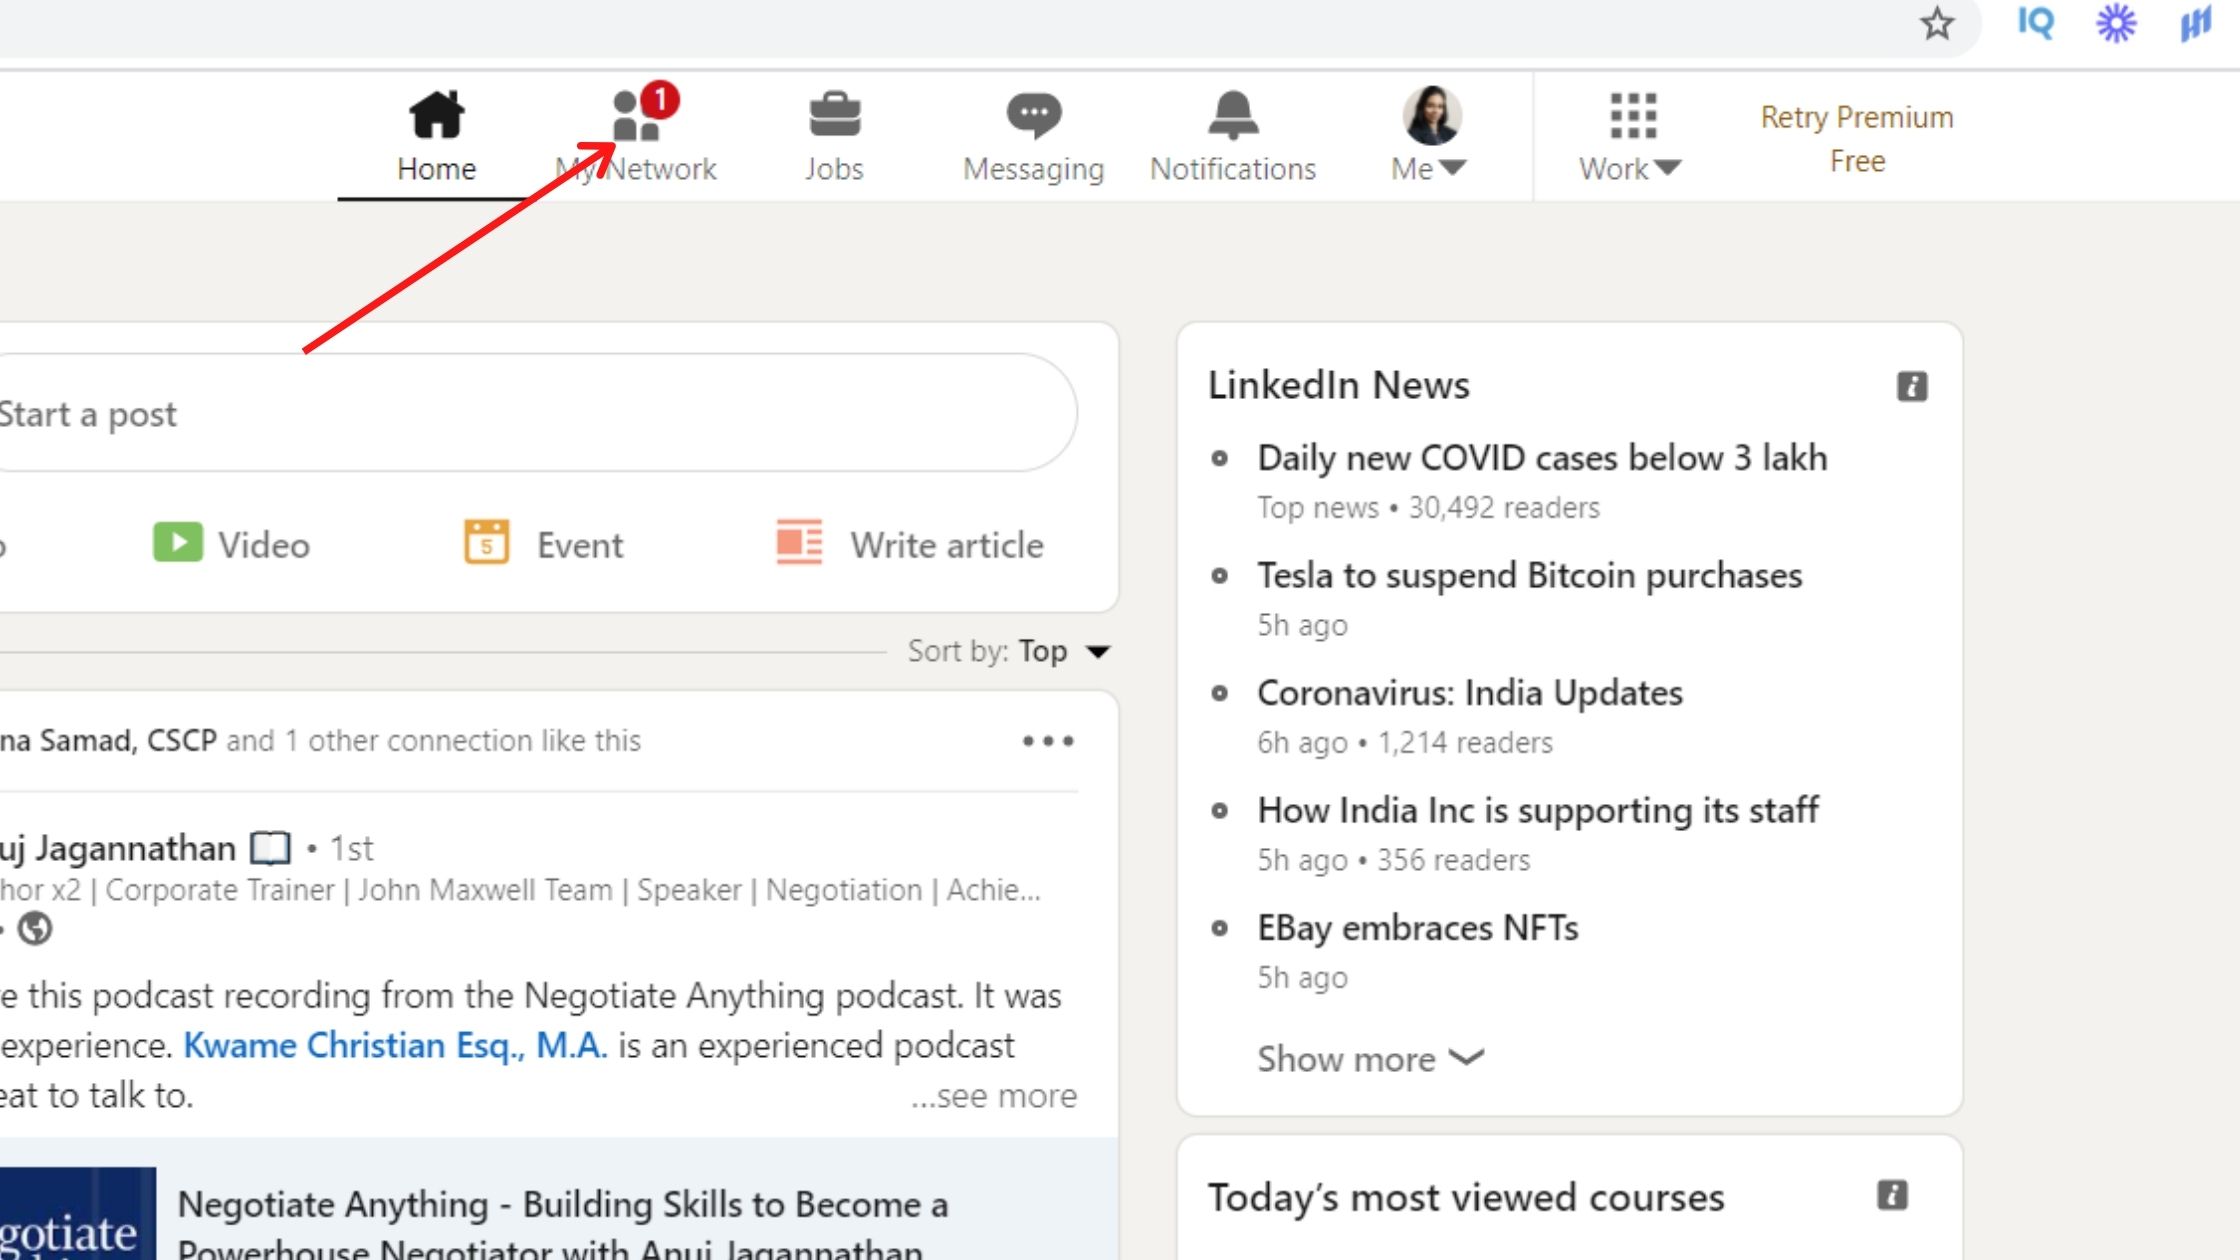
Additionally, when you send a connection request to someone on LinkedIn, it rests as an ‘Invitation’ in their ‘My Network’ column.
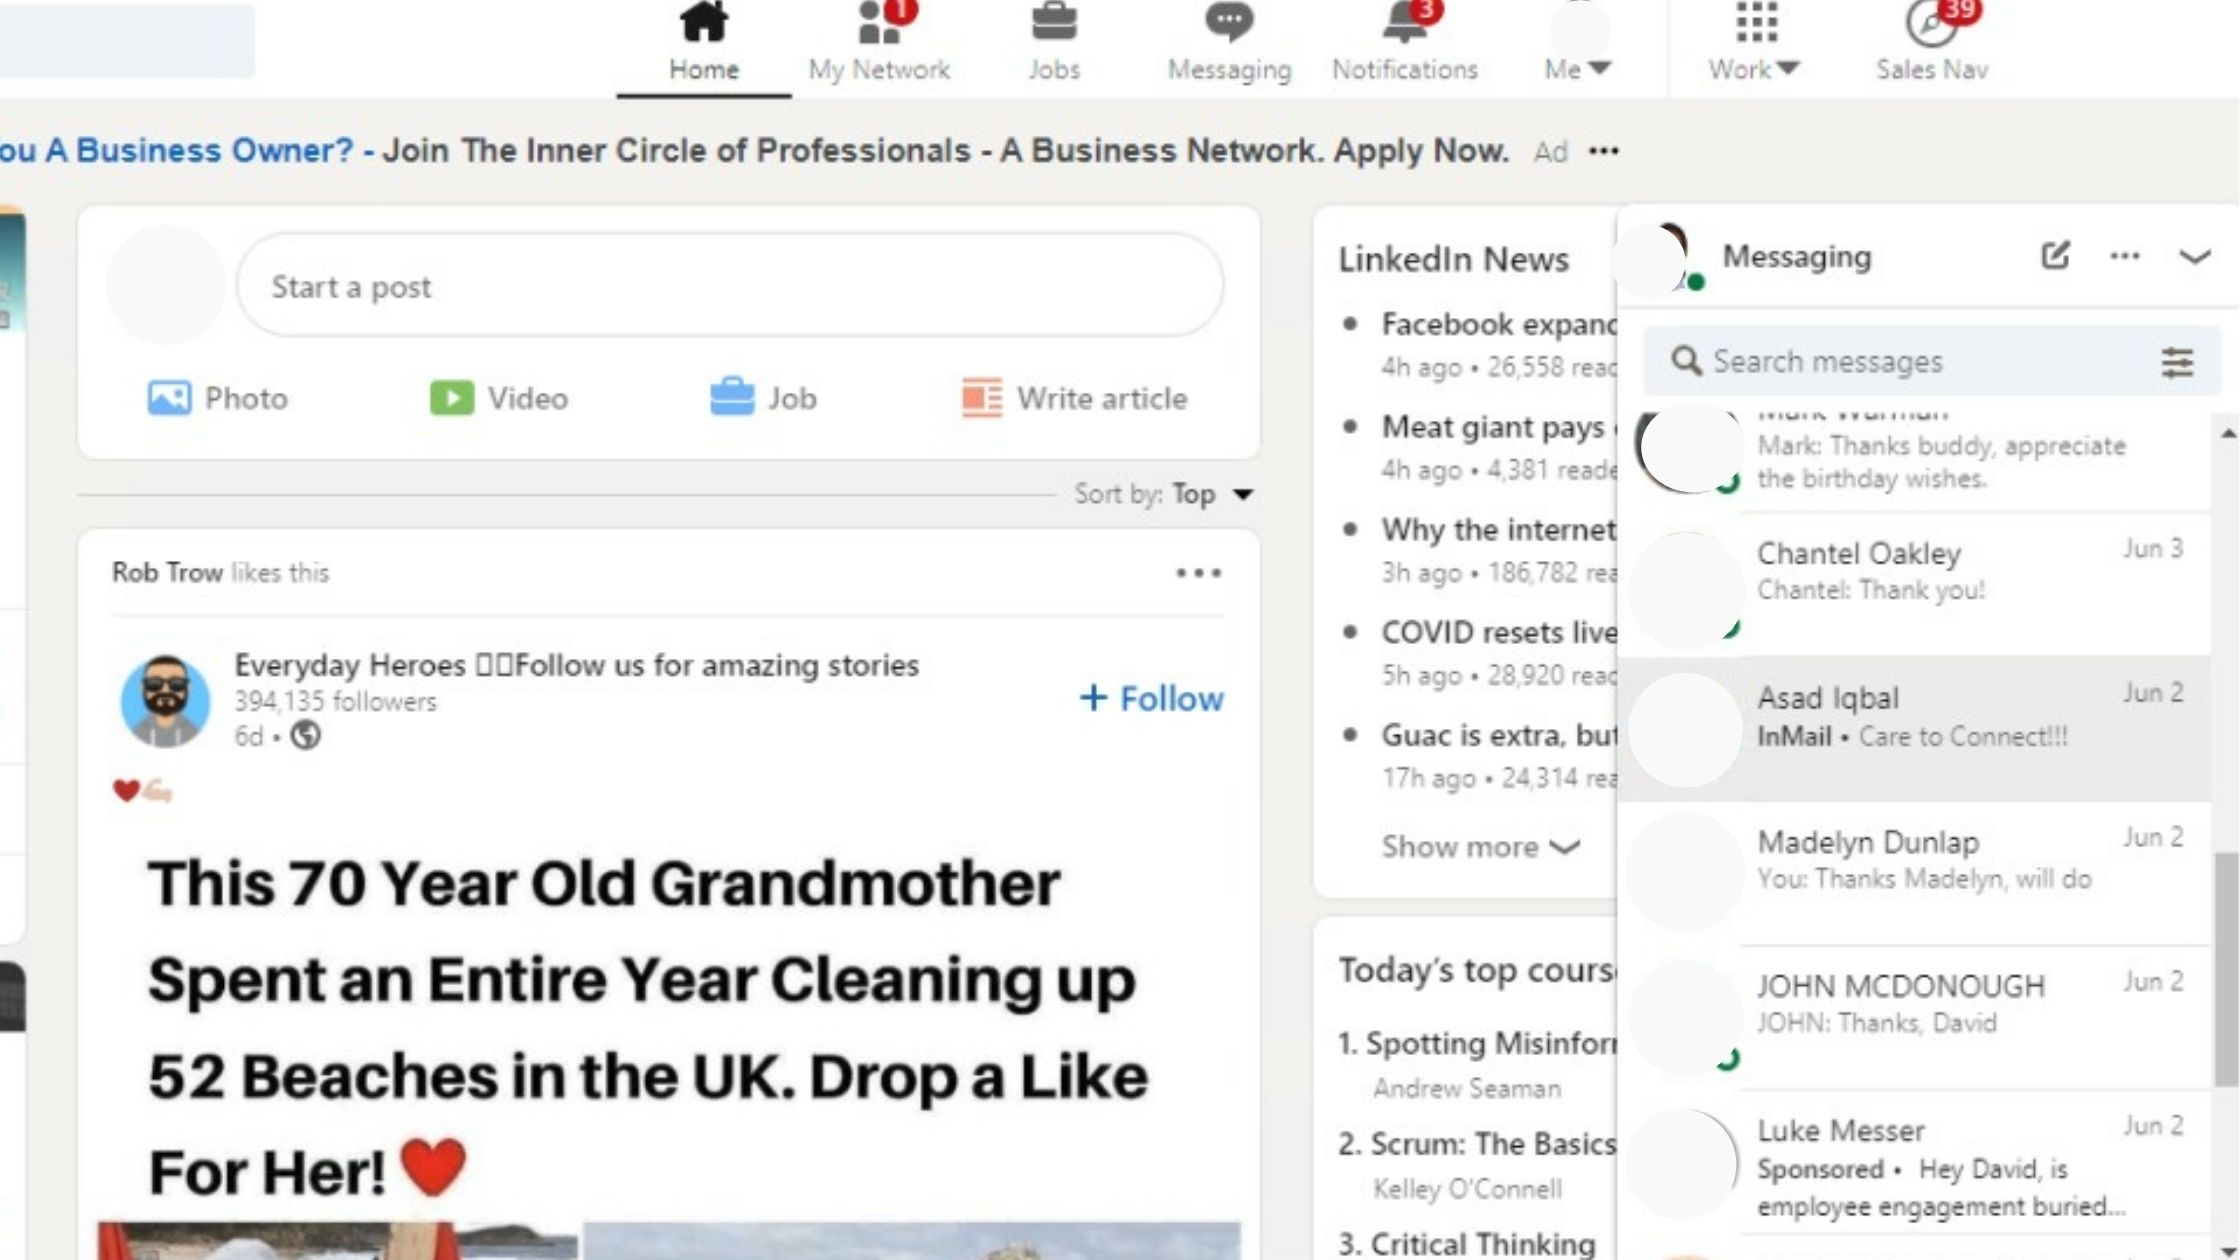
On the other hand, when you send an InMail to your desired LinkedIn member, it takes shelter in their Inbox. LinkedIn also sends them a notification to their e-mail about it.
So, what’s in it for you?
A human mind is more inclined to check his Inbox on LinkedIn in comparison to the ‘My Network’ column.
In this way, your InMail stands a better chance of visibility than a connection request.
Who Wins the race - LinkedIn InMails or Connection Request?

‘FREE’ is the word everyone loves, especially when it can bring in business for you. And connection requests on LinkedIn are for free when compared to InMails.
InMails is the premium messaging service of LinkedIn.
They are promoted messages that allow you to target other LinkedIn members based on a plethora of demographics.
That essentially means you can’t use this feature without having a premium account on LinkedIn.
However, there’s something FREE about InMails as well! You can send them to open profiles without spending a penny.
But, how to identify open profiles on LinkedIn?
Here’s how!
How to discover an OPEN PROFILE on LinkedIn?
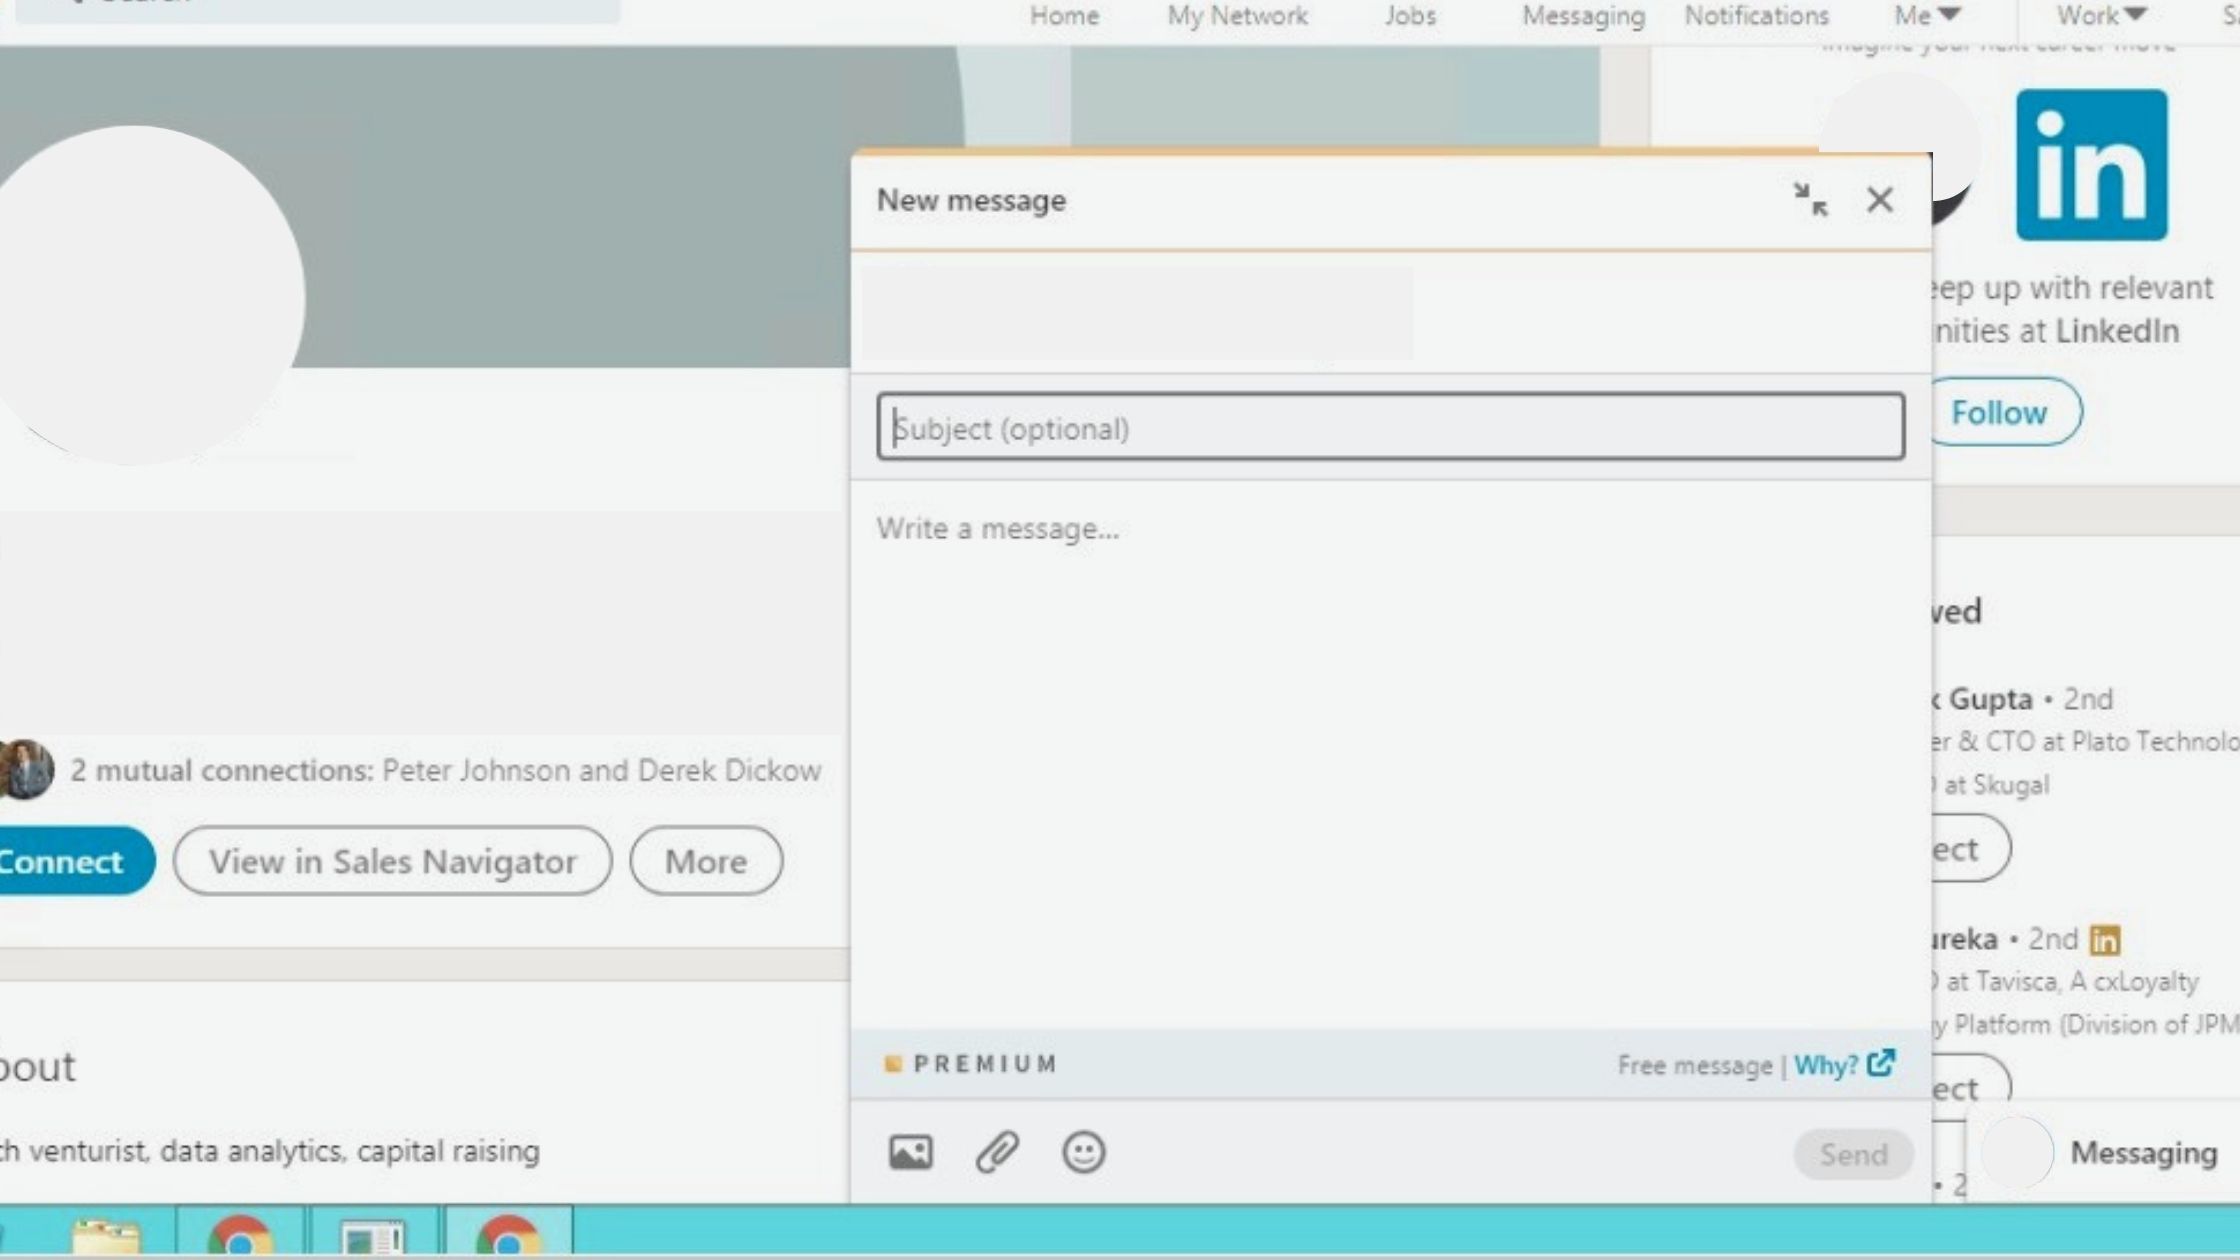
Open Profile is a premium feature on LinkedIn that allows you to send messages to your 2nd or 3rd degree connections without using your InMail credits. So, how can you identify an open profile?
If you see the option of 'Message' by clicking on 'More' button beneath a person's profile on LinkedIn, it indicates an OPEN profile. (see the image below)
If you are using Sales Navigator, you can discover an OPEN profile as below:
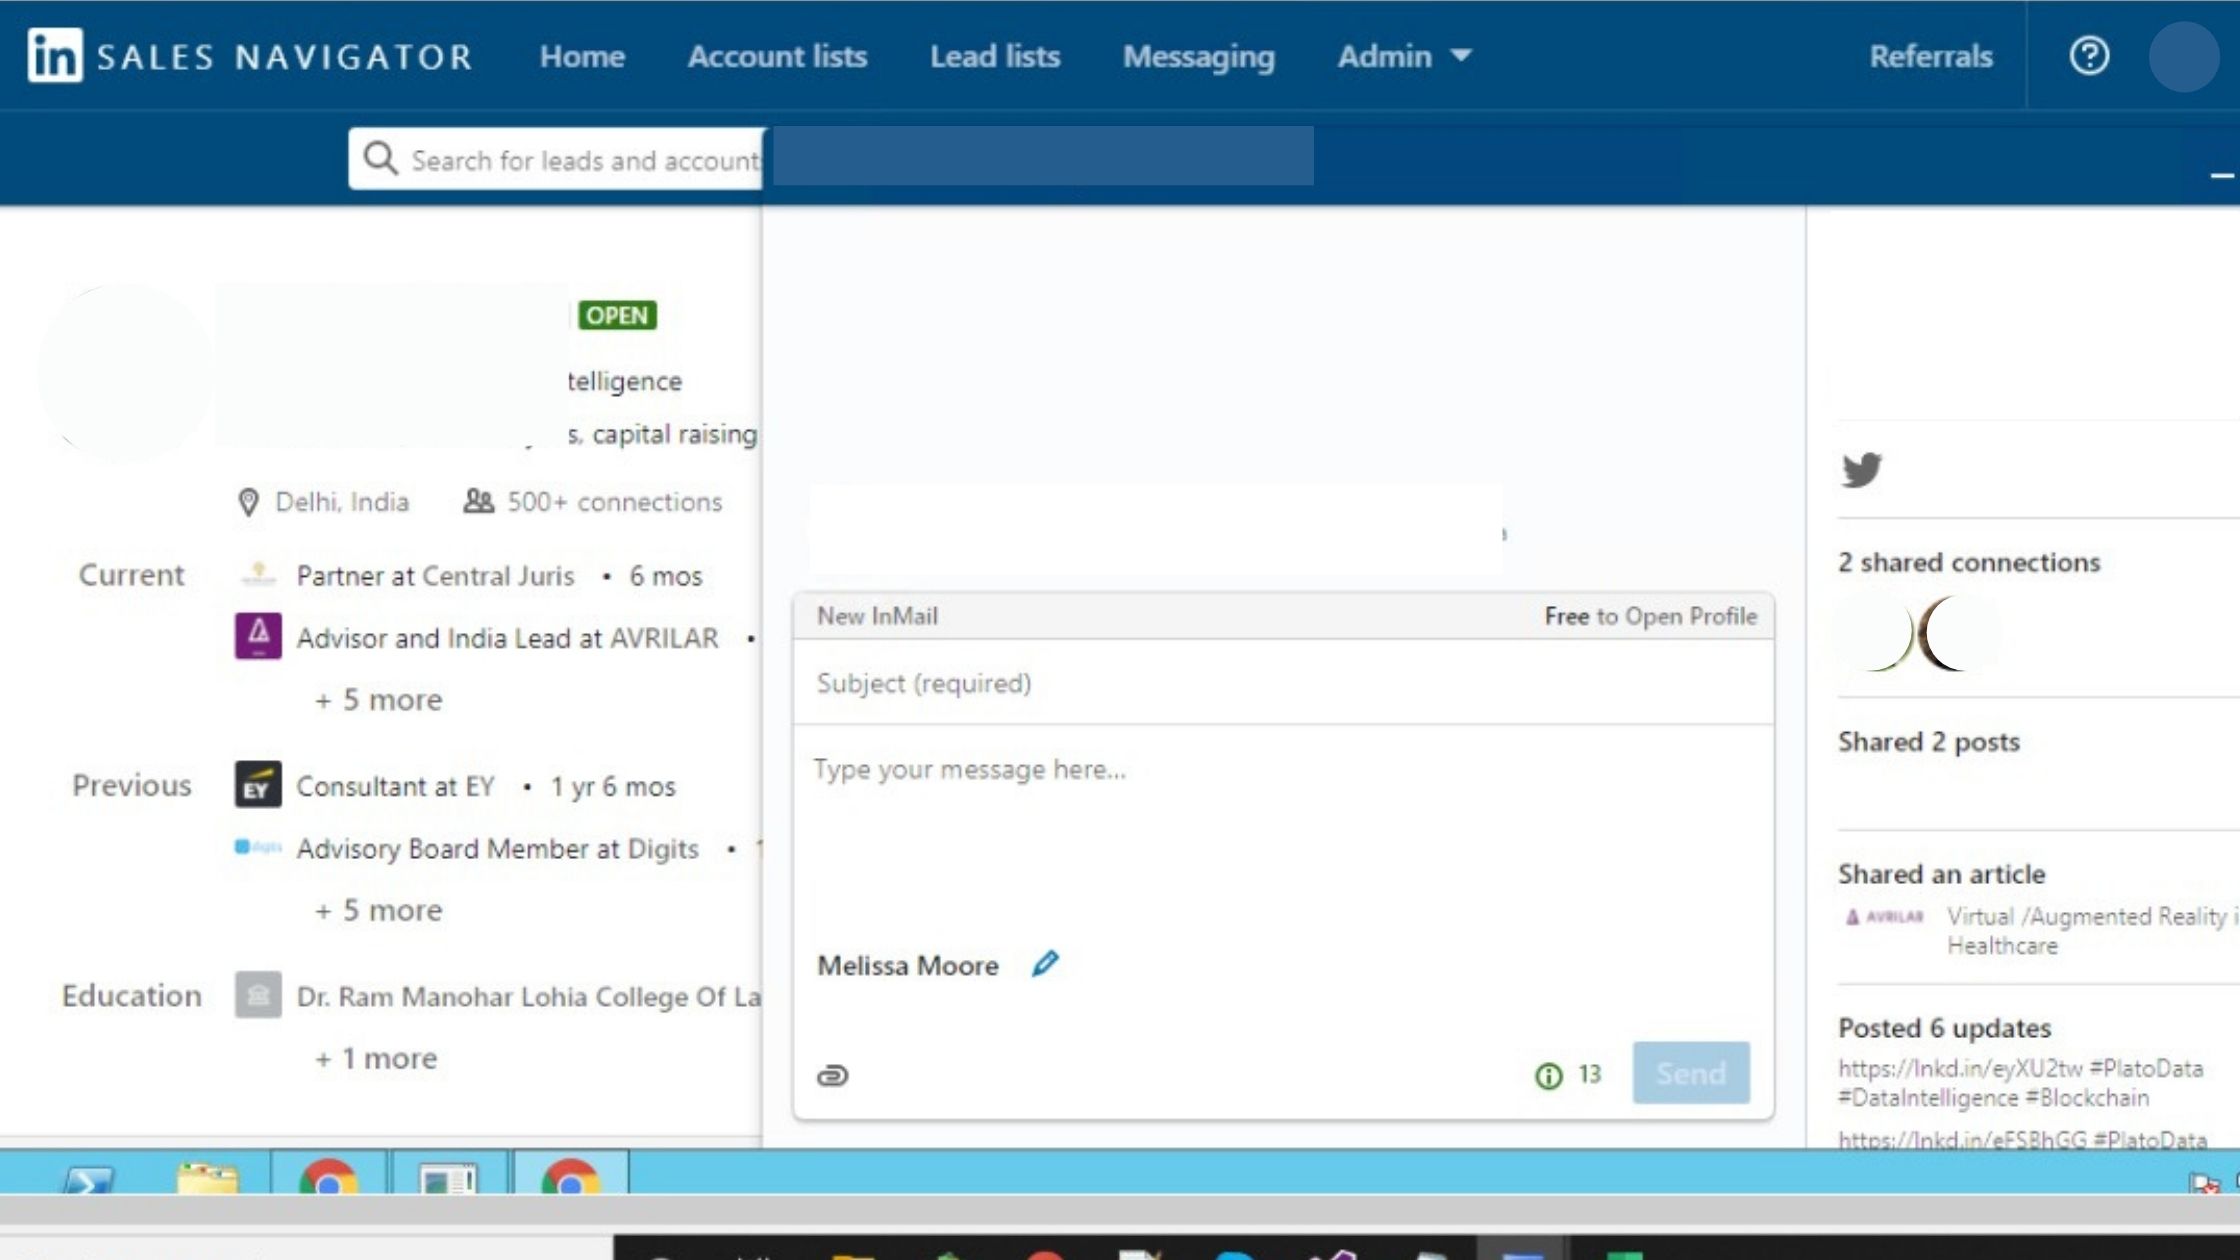
Now, there’s a GOLDEN RULE to follow:
If a profile is open, send them an InMail instead of an Invite
Why I say so?
Well, here’s the logic!
- Targeted messages – With InMails, you can target people who are most likely to benefit from your business.
- Stronger engagement – Targeted messages through InMails help you cut through the noise of one’s Inbox and improve the chances of a positive response from their side.
- Tools and metrics to support InMails are offered by LinkedIn.
Other standout points of LinkedIn InMails that are hard to ignore:
- To send InMails at the perfect time, you can use the active status feature of LinkedIn
- Your connect request and message can be lost in the sea of other promotional messages in your prospect’s Inbox, whereas InMails rarely go unnoticed.
However, you need that smartness to craft the perfect InMail that is hard for your prospect to pass over.
Best Practices to write a Killer LinkedIn InMail

First, keep your LinkedIn InMail brief- 150 words or fewer to increase the likelihood of a response.
- Personalize your message by researching your prospect’s profile, and look for common interests or work experience
- Grab their attention with a short, specific, and compelling subject line
- Use InMails to start the conversation with a prospect and not pitch a sale
- Conclude your message with a call-to-action
Following these tips ensures you craft InMails your prospects wish to respond to. Further, you can see the status of your sent InMails on the Sent InMail page.
- Accepted – The message has been read and accepted. You should’ve received a response from the recipient
- Declined – if the recipient declines your opportunity
- Pending – when the recipient is yet to reply to your message
Wrapping up: Linkedin Inmails Vs Connection Request
So, is LinkedIn InMail worth it?
Today’s post has described what LinkedIn InMail means and its standout features.
Though it looks like a costly affair because you have to invest in a premium LinkedIn account to use InMails, keeping the LinkedIn’s new limit on connect request in mind, it’s the safest approach.
Filter your connections based on who has allowed for InMails. Those who have enabled it should be contacted by InMails only, rather than connect requests.
A perfect balance of LinkedIn InMails and connection request can give you a win-win situation for your business.
So, what’s your take on LinkedIn InMails and connection request?
